
Our services
Step free and small bathrooms in Byron Bay
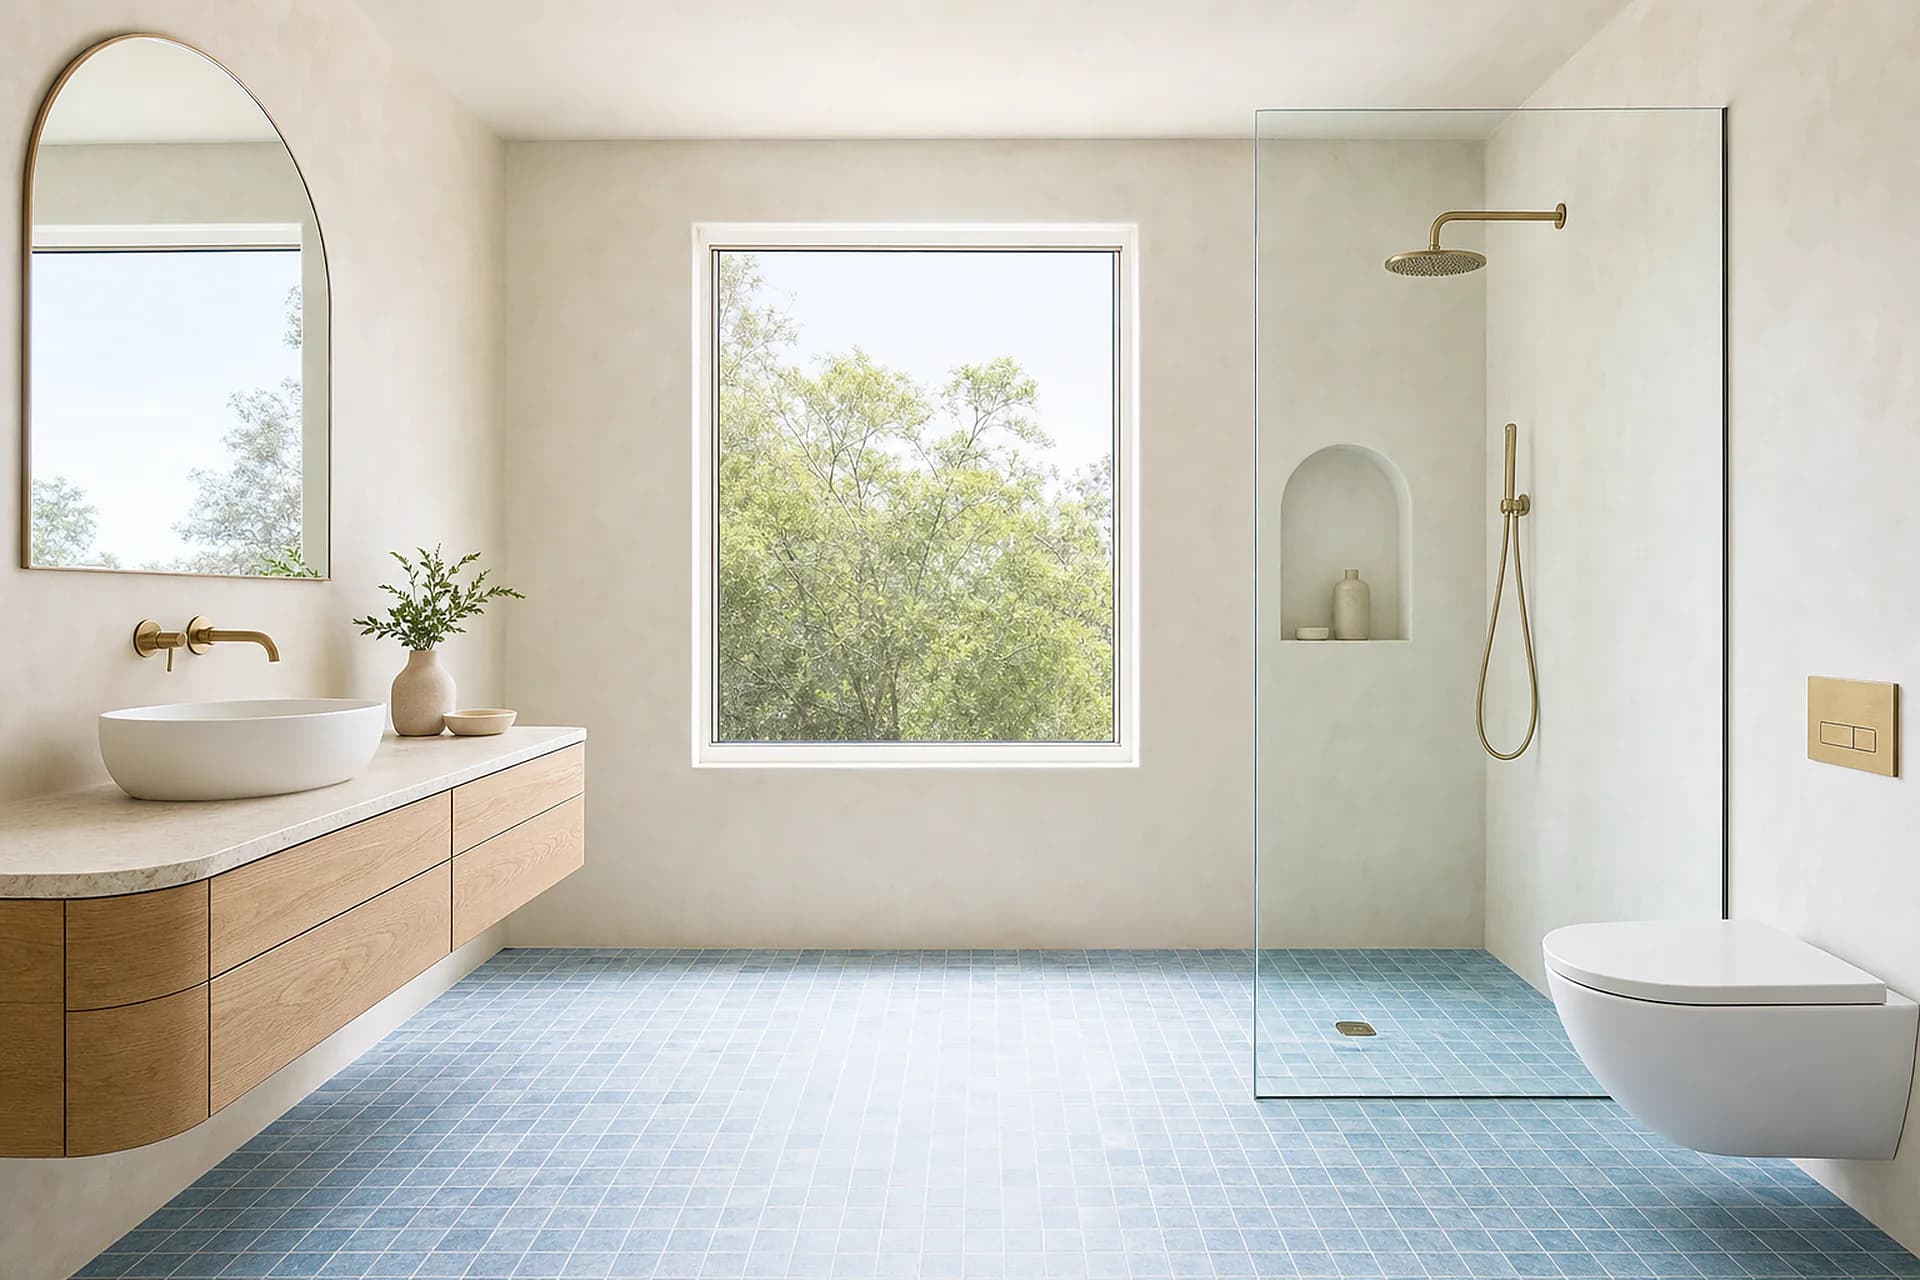
Step free and small bathroom renovations in Byron Bay. A flat floor, and room to turn around, are both won under the tiles before they go on. That is why they are cheap to do now and expensive to add later.
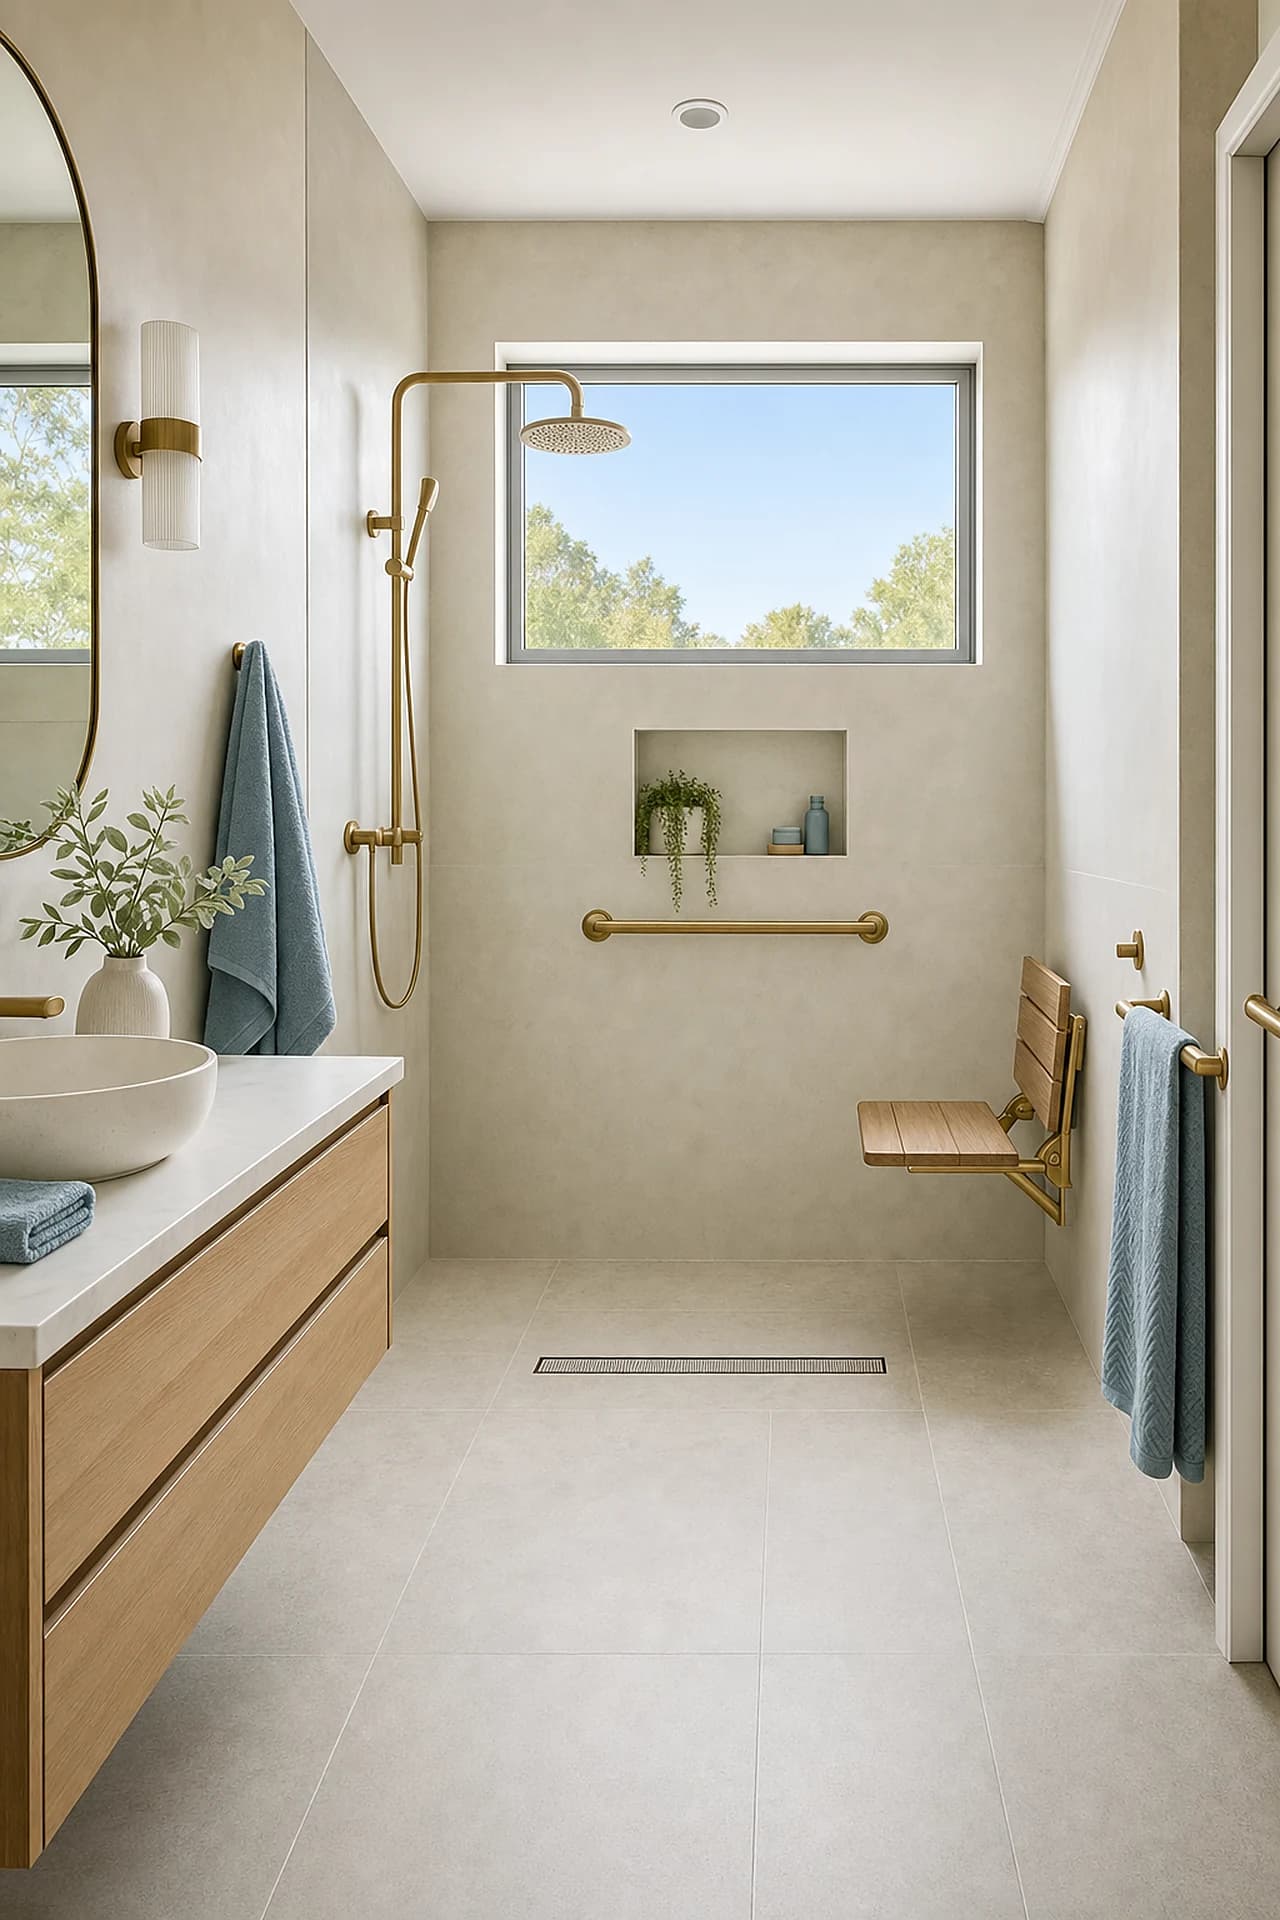
- The entry
- Flat all the way through, no step, no lip
- The height
- Found in the floor, not fudged with thin tiles
- The floor
- The whole floor waterproofed, because it all gets wet
- Later on
- Solid timber in the wall now, so rails can go on any time


Get in touch
Get a free quote
Tell us about the room and we will be in touch within 48 hours. If it is urgent, ring us instead.
(02) 9072 1997Won underneath
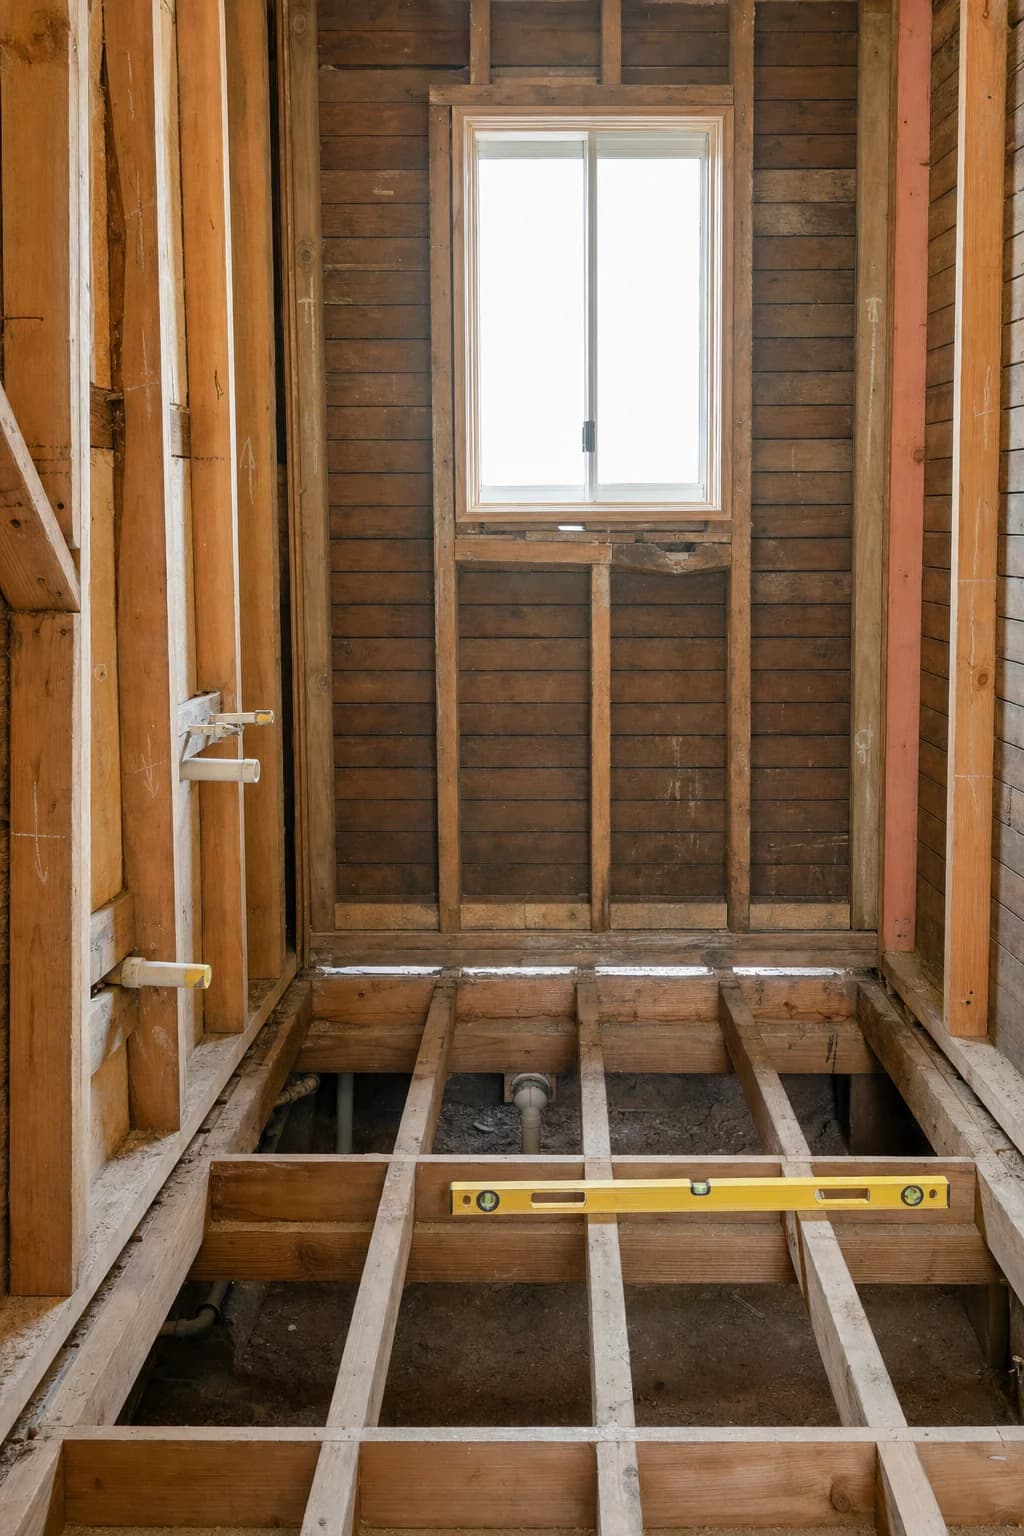
A flat floor is decided under the tiles
A step free bathroom is not something you bolt on. It is a floor that sits at one height, from the doorway all the way to the back of the shower. Every millimetre of that has to come from under the tiles.
So it is a decision with a deadline. While the floor is open we can find that height in the timbers or the concrete, and it costs very little. Once the room is finished, the same change means pulling it apart again. The same goes for every rail, seat and handle. The solid timber they screw into either went in while the wall was open, or it did not.
None of this has to look like a hospital. A flat floor, a vanity fixed to the wall, and a rail that matches your taps just look like a good bathroom. They only have to be decided before the wall sheeting goes back on.
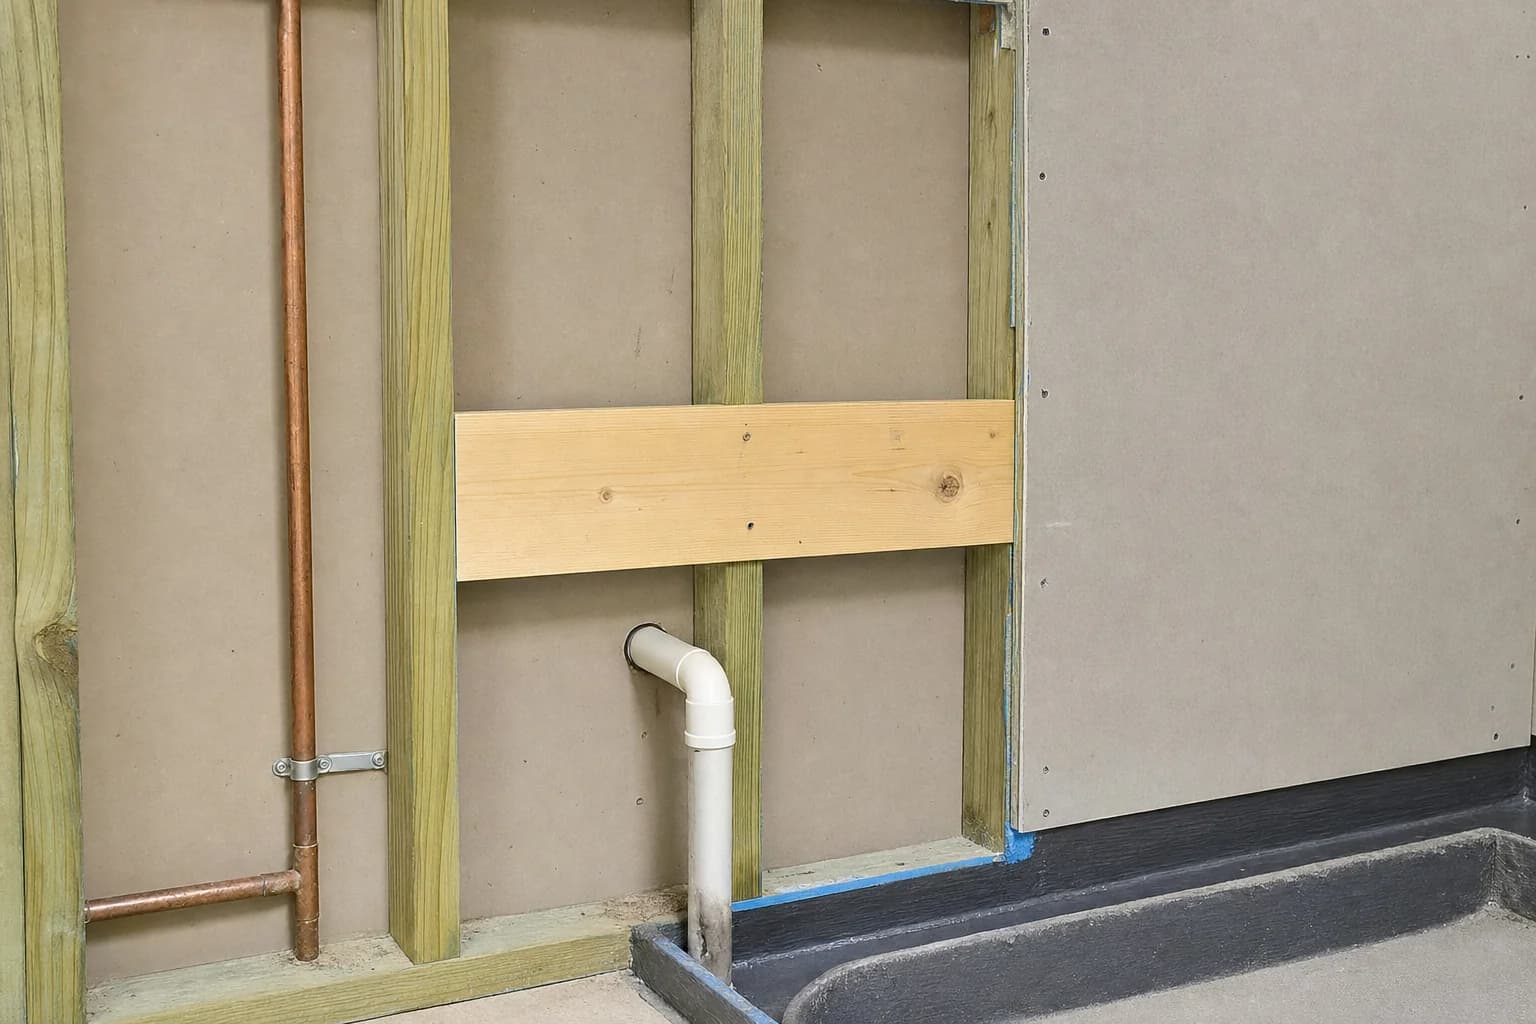
The timber behind the wall either went in while the wall was open, or it did not. There is no third option.
Where the height comes from
What is under your floor
A step free floor is a subtraction sum. The finished floor has to end up level with the room outside, so every layer underneath has to fit in the space left. These are the layers, and where the height comes from.
The structure
The floor timbers dropped, or the concrete ground down. On a timber floor this is where nearly all the height comes from, and we can only get at it while the floor is open.
Most of it
The sheeting
The waterproof board that goes back down over the timbers. A thinner board buys a little height, but only if the timbers are close enough together.
A little
The mortar bed
This is where the slope to the drain is shaped. It has to be thick enough to hold that slope, so it is not somewhere we can save height.
None to spare
The waterproofing
Two coats over the mortar bed and up the wall. It adds almost no thickness, and it has to be there either way.
Nothing
The tile and adhesive
The last layer, and the only one most people think about. A thinner tile buys you a few millimetres. It cannot save a floor that had nowhere to go underneath.
A fraction
So whether your bathroom can be step free is answered by the floor, not the room. And nobody can tell you from the doorway.
What we do
What is included
All of it written down before we start. The things that only get one chance are listed separately, because those are the ones that cannot be added later.

Where the height is won
Down
- The old step, base and screen out, and the floor opened up to the timbers or the concrete
- The timbers dropped, or the concrete ground down, so the finished floor is level with the doorway
- Any wet or rotten framing replaced while it is open and visible
- A drain fitted, strip or square, to suit the slope the new floor allows
- A mortar bed sloping one way across the whole wet area, instead of a step around it

The parts with one chance
In
- Wide timber fixed behind the wall sheeting at rail height, whether a rail goes on now or not
- Timber for a fold down seat, and for the vanity if it hangs off the wall
- The shower taps put where you can reach them from outside, not under the water
- A door that opens the right way, or slides, so it leaves you room to turn around
- Waterproofing to AS 3740 across the whole floor, photographed at every stage

What you see
On
- Floor tiles run straight through the entry, with no step and no lip
- A non slip floor tile, chosen for a wet floor rather than for a photo
- Rails and seat fitted, in the same finish as your taps rather than hospital chrome
- A vanity fixed to the wall, so the floor stays clear underneath
- Grout, silicone, and we flood the finished floor with water to prove it drains
Not included: your tiles, taps, rails and seat. Those are yours to choose. We will tell you what each one needs behind the wall before you order it, not after.
Our process
Our step free process
- 01
Open the floor
Concrete or timber, and how much height there is to find. This answers whether the room can be step free, and nobody can tell from the doorway.
- 02
Decide what goes in the wall
Rails now or rails later, a seat or just the space for one, a vanity that hangs off the wall. We write that list before the wall sheeting is ordered.
- 03
Find the height
The timbers dropped, or the concrete ground down, until the finished floor will sit level with the room outside.
- 04
Timber, pipes and wiring
Wide timber in at every height on the list. Plumbing set so you can reach the taps from outside the shower. Then the sheeting goes back on.
- 05
Slope, waterproof, wait
One slope across the whole wet area, waterproofing to AS 3740, photographed at every stage, then the drying time that cannot be shortened.
- 06
Tile, fit, water test
Tiles run straight through the entry, rails and fittings on, then water on the floor to prove it goes where it should.
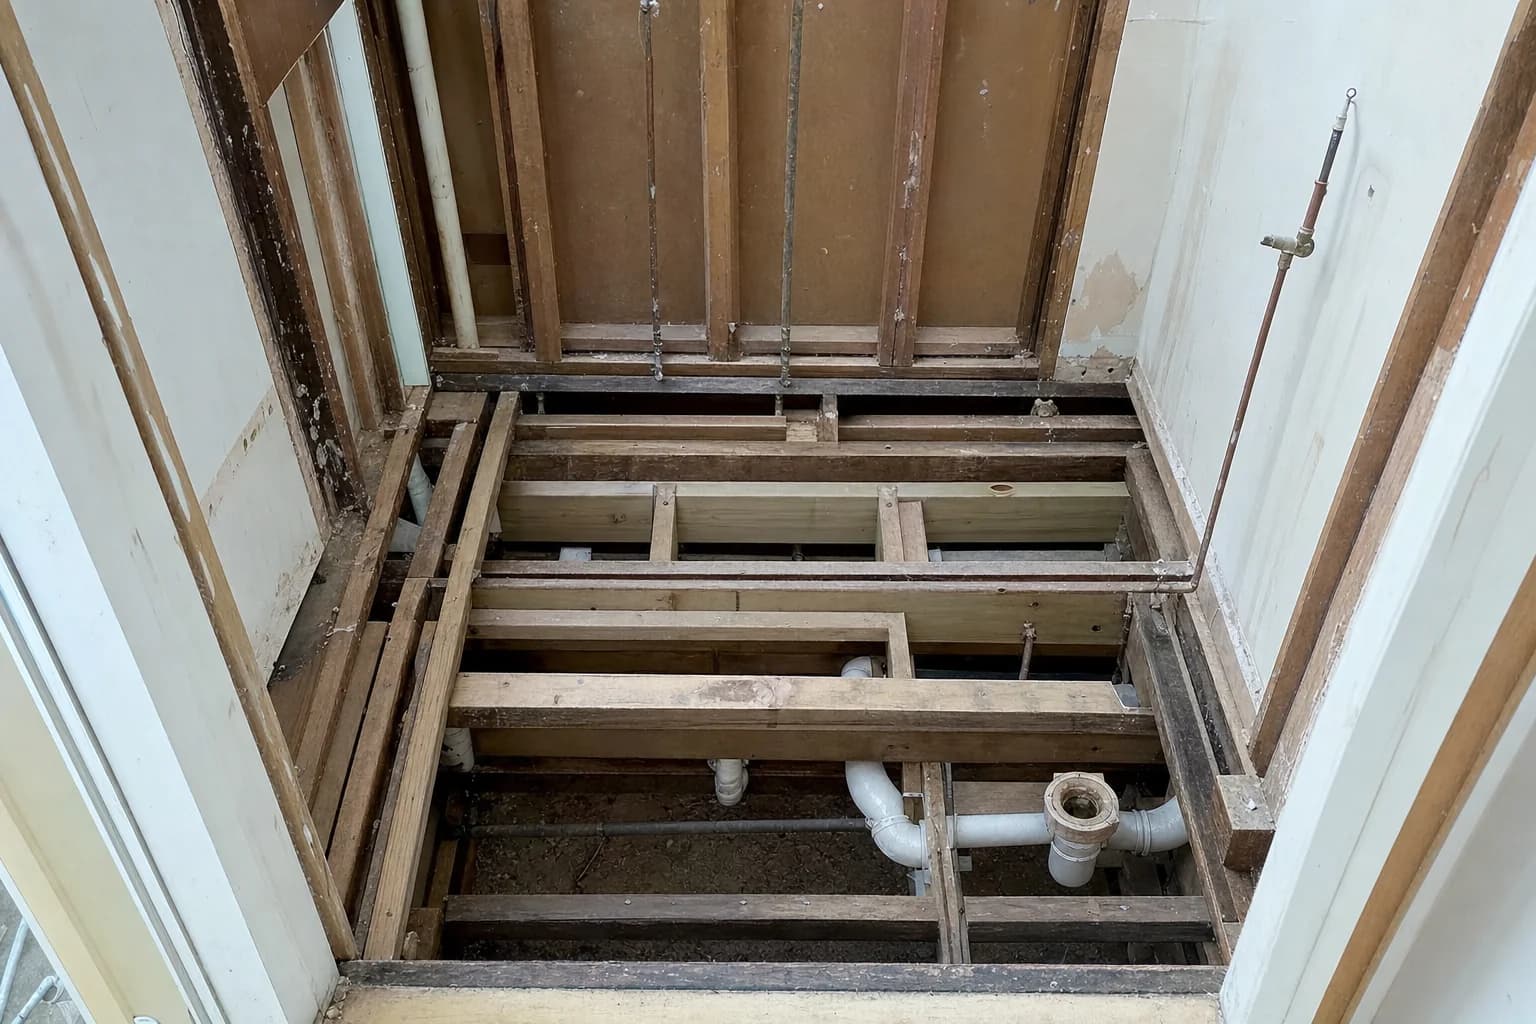
The step gone, the floor open
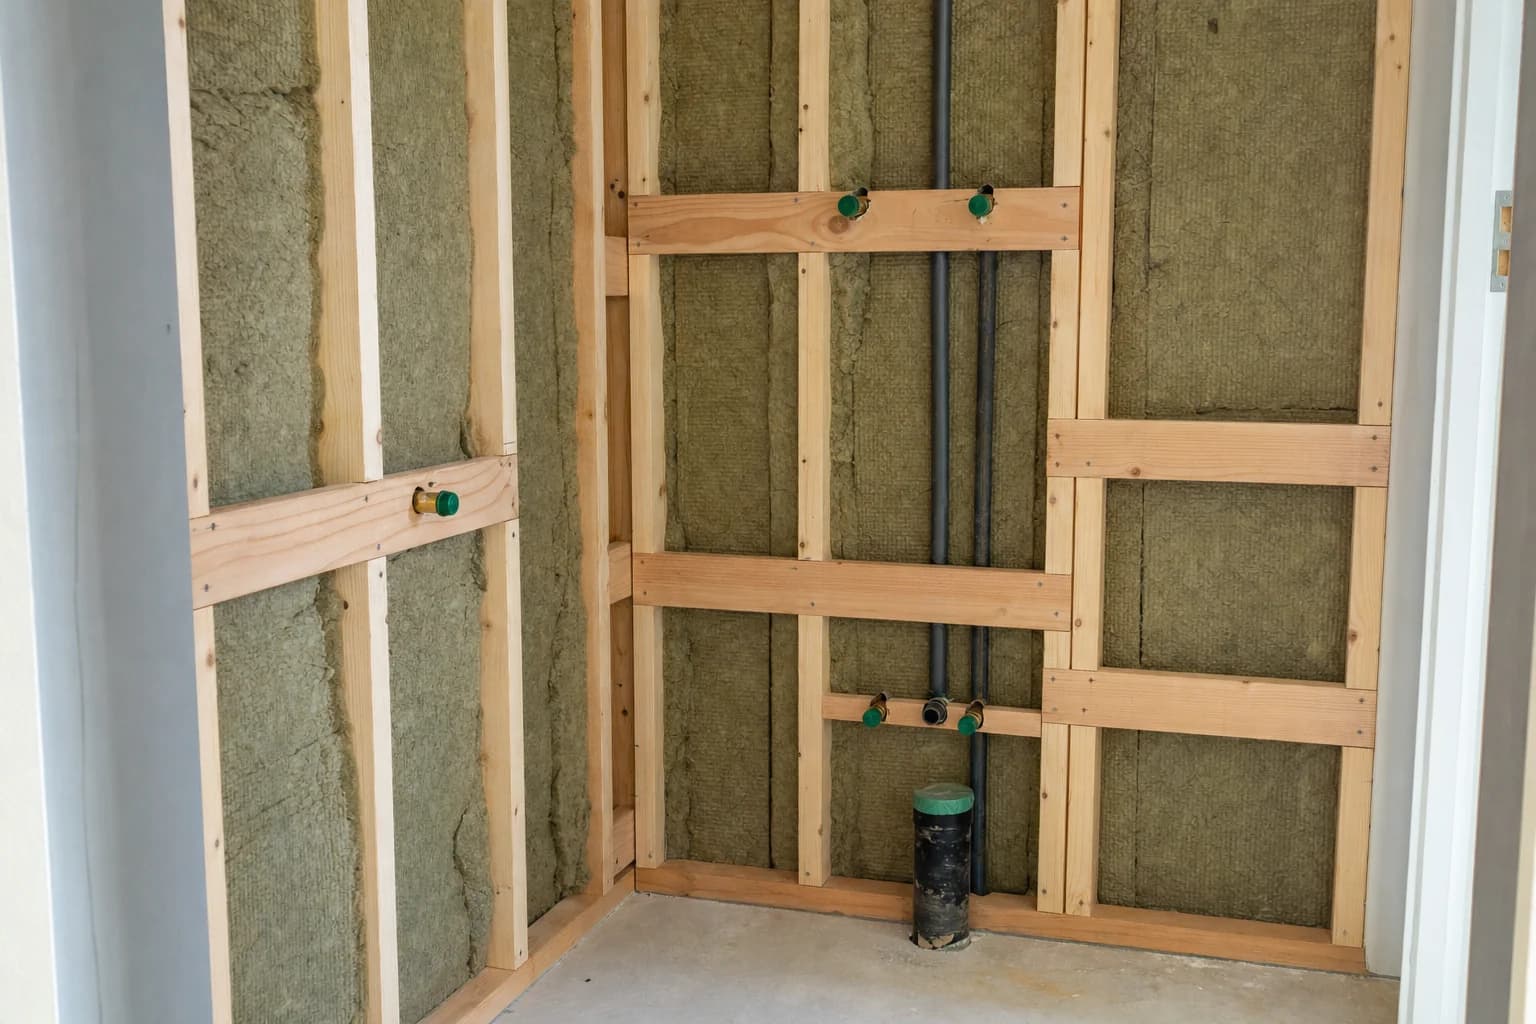
Timber in at every height on the list
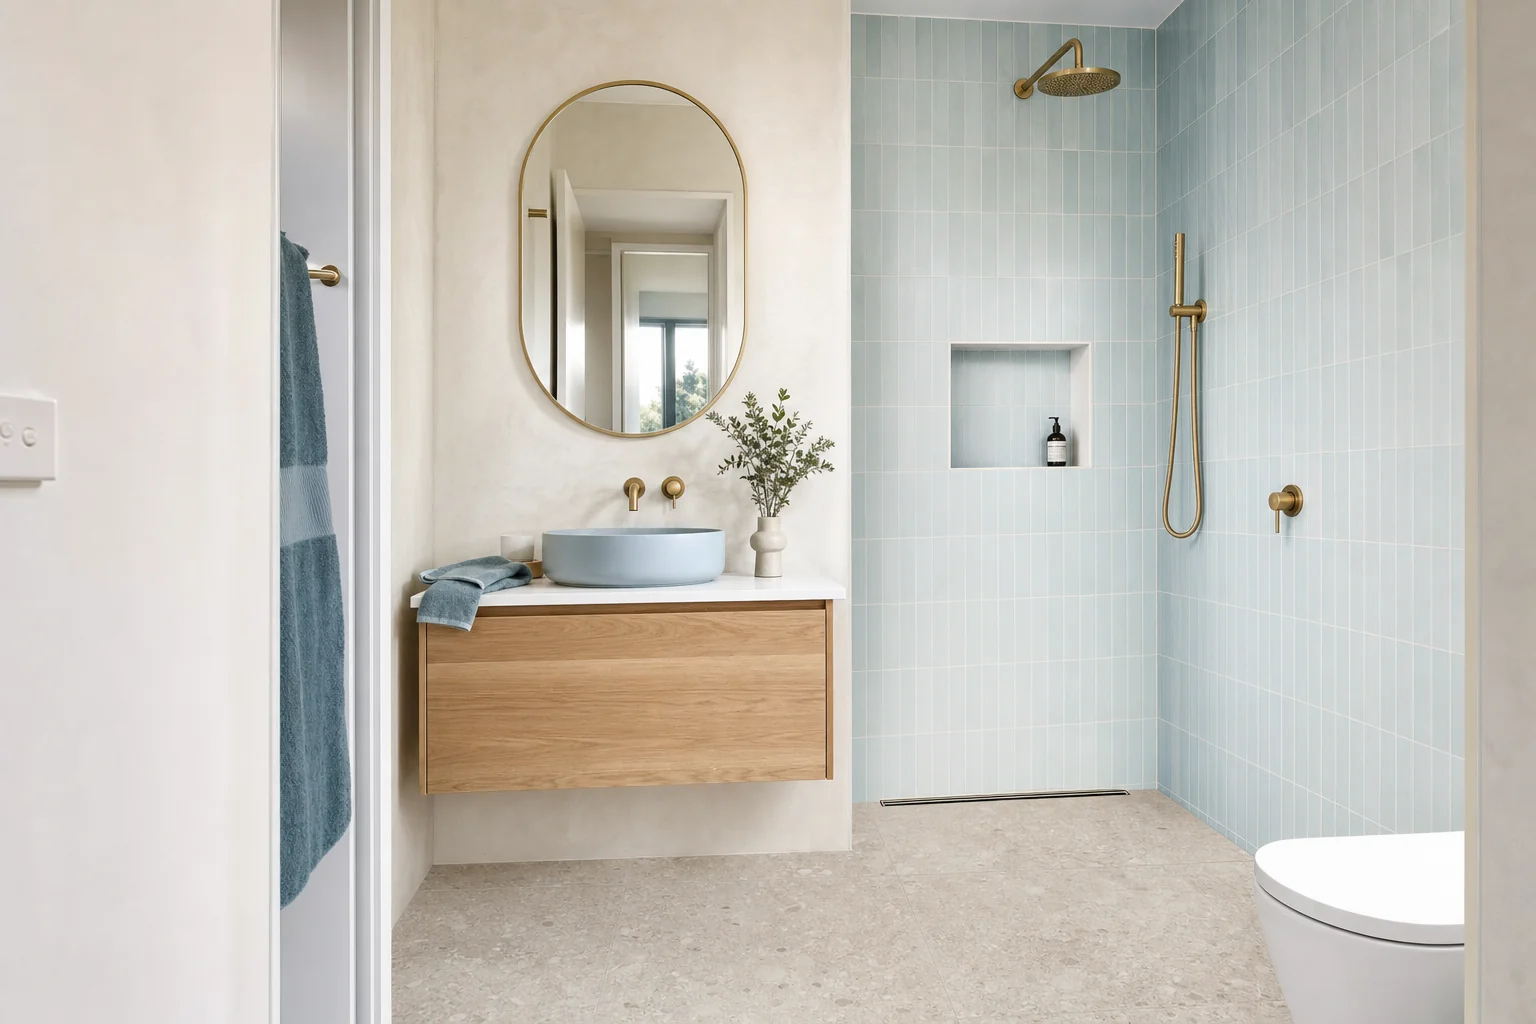
One level, doorway to back wall
Pricing
What affects the price
These are really two different jobs and they cost differently. Making a small room work is mostly about layout. Making a floor step free is mostly about the structure underneath, and that is where the money goes.
The good news is you only pay for it once. Timber in the wall and height in the floor are cheap while everything is open, and out of reach afterwards.
Keeps it down
Concrete we can grind. Grinding concrete down to find height is simple and predictable. A timber floor with a ceiling under it is neither.
Timber now, rails later. Putting the timber in and leaving the rails off costs almost nothing now, and keeps every option open.
Keeping everything where it is. If the layout already works, the plumbing is a tidy up rather than a rebuild, and the money goes into the floor instead.
Pushes it up
A timber floor with a room below. If the timbers cannot drop without hitting the ceiling underneath, we design it another way rather than force it.
A long strip drain. It lets the whole floor slope one way, which is what makes big tiles possible on a flat entry. It costs more than a square drain.
Moving the toilet or the door. Both give you back room to turn around, and both mean opening up more than just the bathroom floor.
Rotten timber under the old floor. It gets replaced before anything is closed up, and it is the one thing nobody can price honestly until the floor is open.
It all comes down to whether the height is there, and we have to open one section of floor to find out.
(02) 9072 1997Our other services
All services
Walk in showers and wet rooms
A shower with no step to climb over. The floor itself has to slope to the drain, which is where the real work is.
Read more
Ensuites
Small rooms are harder, not easier. Everything is fighting for the same three metres of wall.
Read more
Waterproofing
Done to the Australian standard and photographed before a single tile goes on, so you have a record of what is under there.
Read moreContact us
Tell us about the room and we will come and look at it. You get a fixed scope written down item by item, so you know what you are paying for before anything starts.
(02) 9072 1997