
Our services
Bathroom waterproofing in Byron Bay
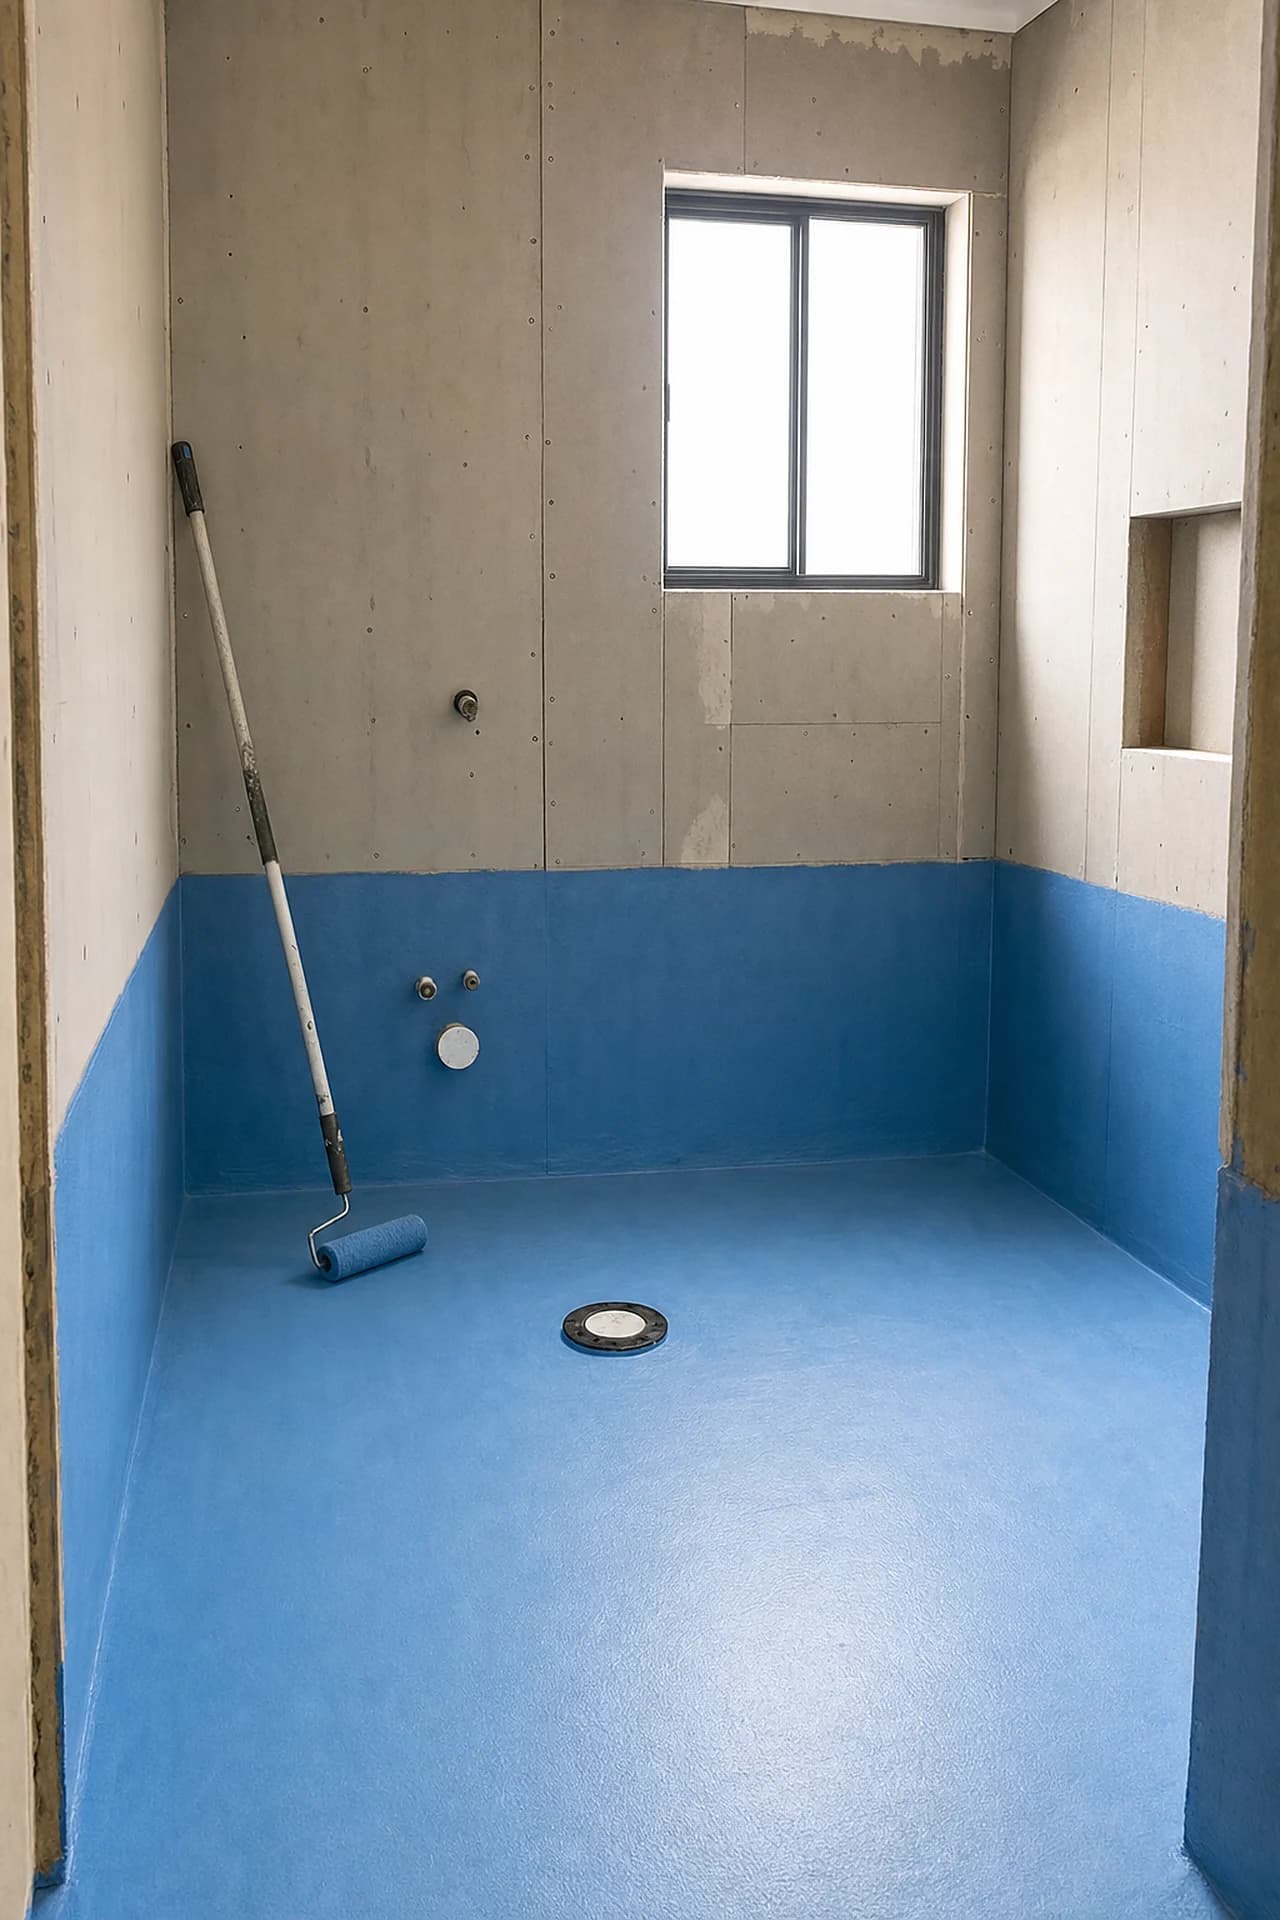
Bathroom waterproofing in Byron Bay, done to AS 3740 and photographed at every stage. Once the tiles are on, nobody can check this work again. That is why it is the part that gets rushed, and why we photograph it.
- The standard
- AS 3740, the rule for home wet areas
- The record
- Photographed at every stage and handed over
- The floor
- Sloped to the drain before waterproofing
- Pipe holes
- Sealed through, not painted around


Get in touch
Get a free quote
Tell us about the room and we will be in touch within 48 hours. If it is urgent, ring us instead.
(02) 9072 1997The part you cannot see
The waterproofing is the real building work
Water does not leak through tiles. It gets through the joins between them. What happens next is down to the waterproof layer underneath, called the membrane. Either the water runs to the drain, or it soaks into the timber frame of your house.
So the tiles are just the finish. The waterproofing is the real building work. Nearly every failed bathroom we look at failed in one of three places. Where the wall meets the floor. The seal around the floor drain. And the wait before tiling.
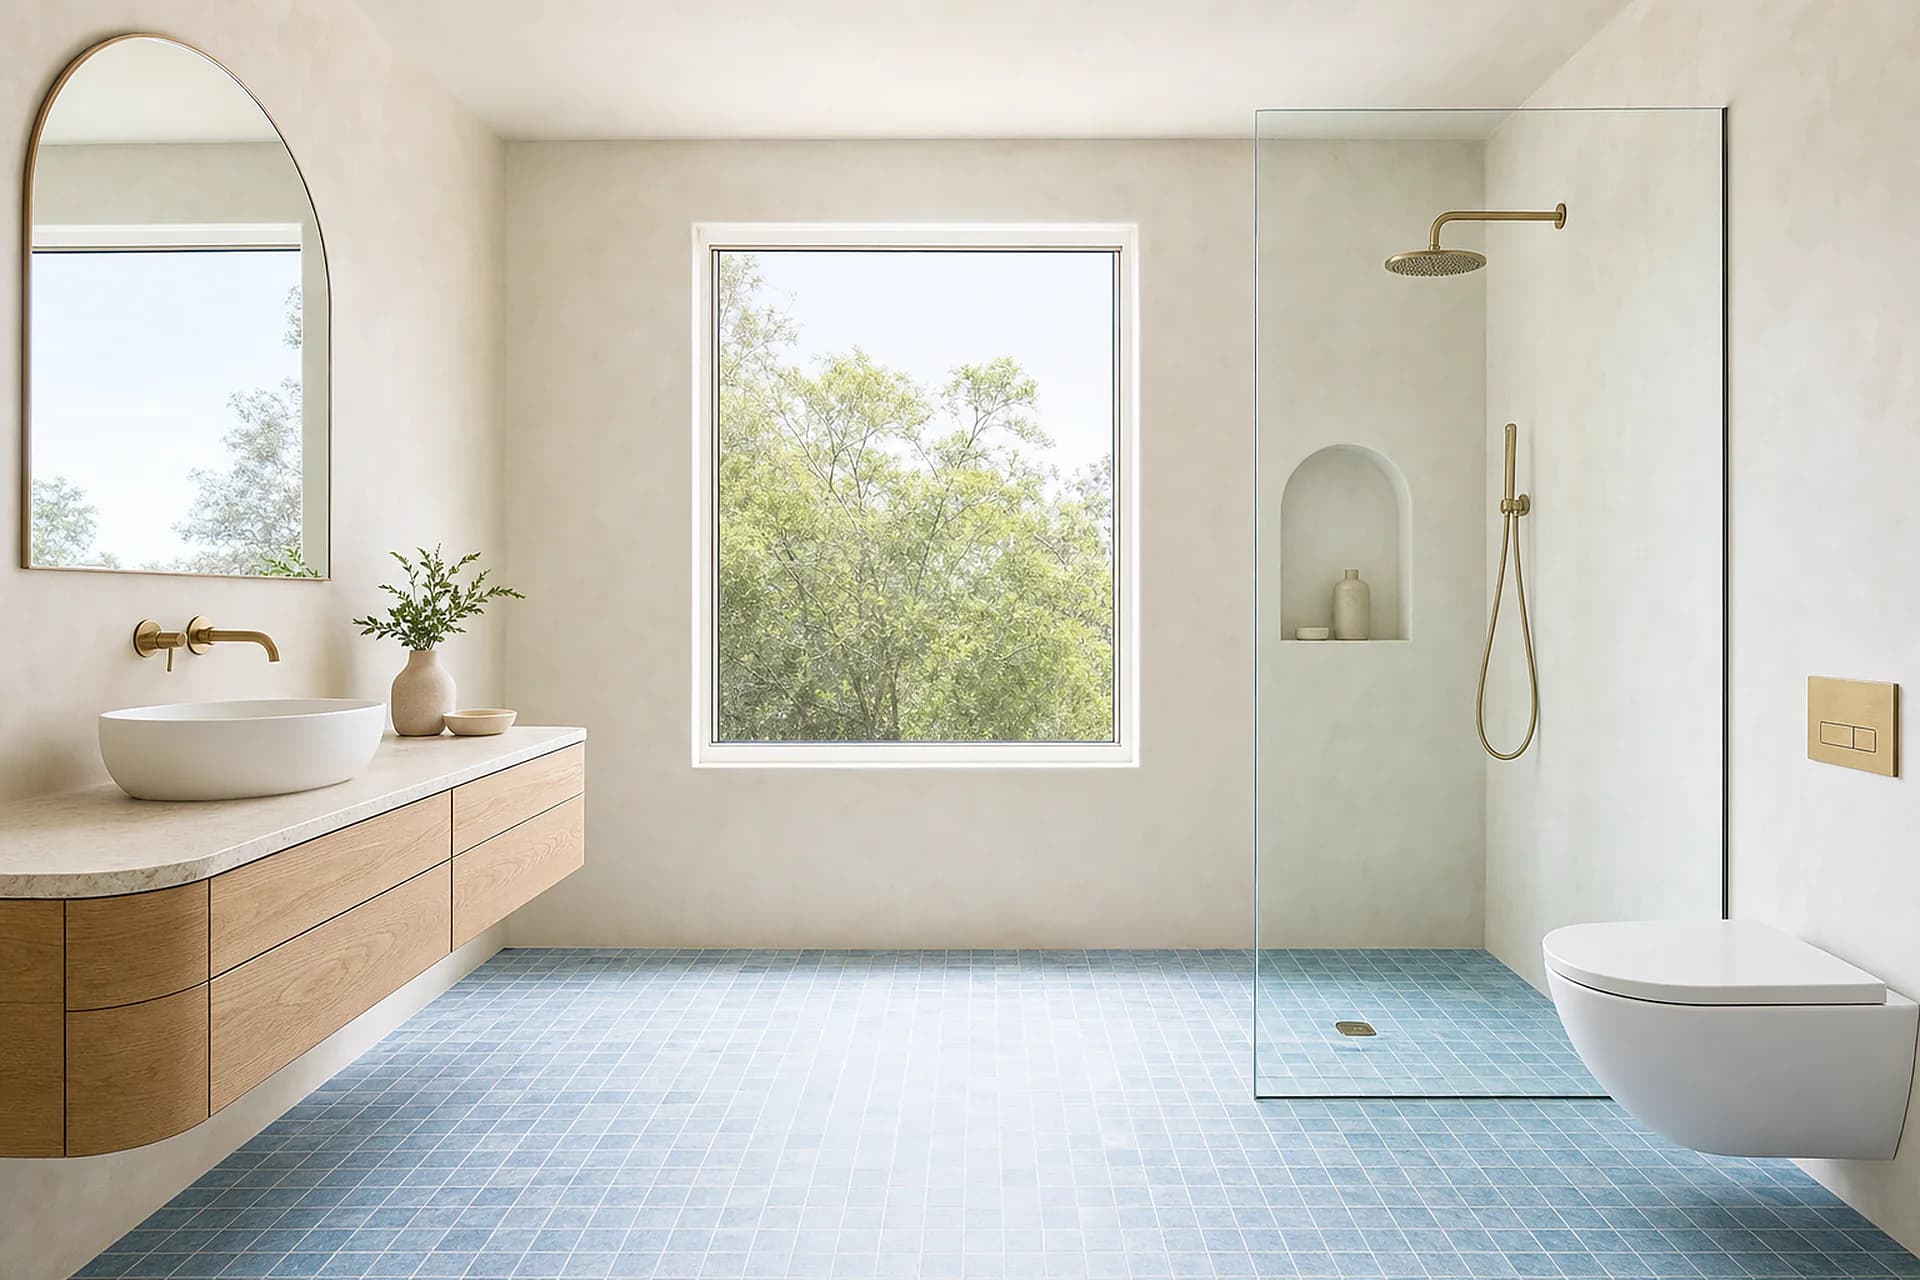
You cannot see any of those three in a finished room. That is the hard part about paying for waterproofing. You are buying work you will never see again. The only proof there can ever be is the photos someone took at the time.
Tiles are just the finish. The waterproofing is the real building work.
AS 3740
What the rules ask for, and where it goes wrong
The standard is not vague. It says exactly where the waterproofing goes and how the corners are done. The same few spots are where bathrooms fail years later.
Where
What the standard asks
Where it goes wrong
The shower floor
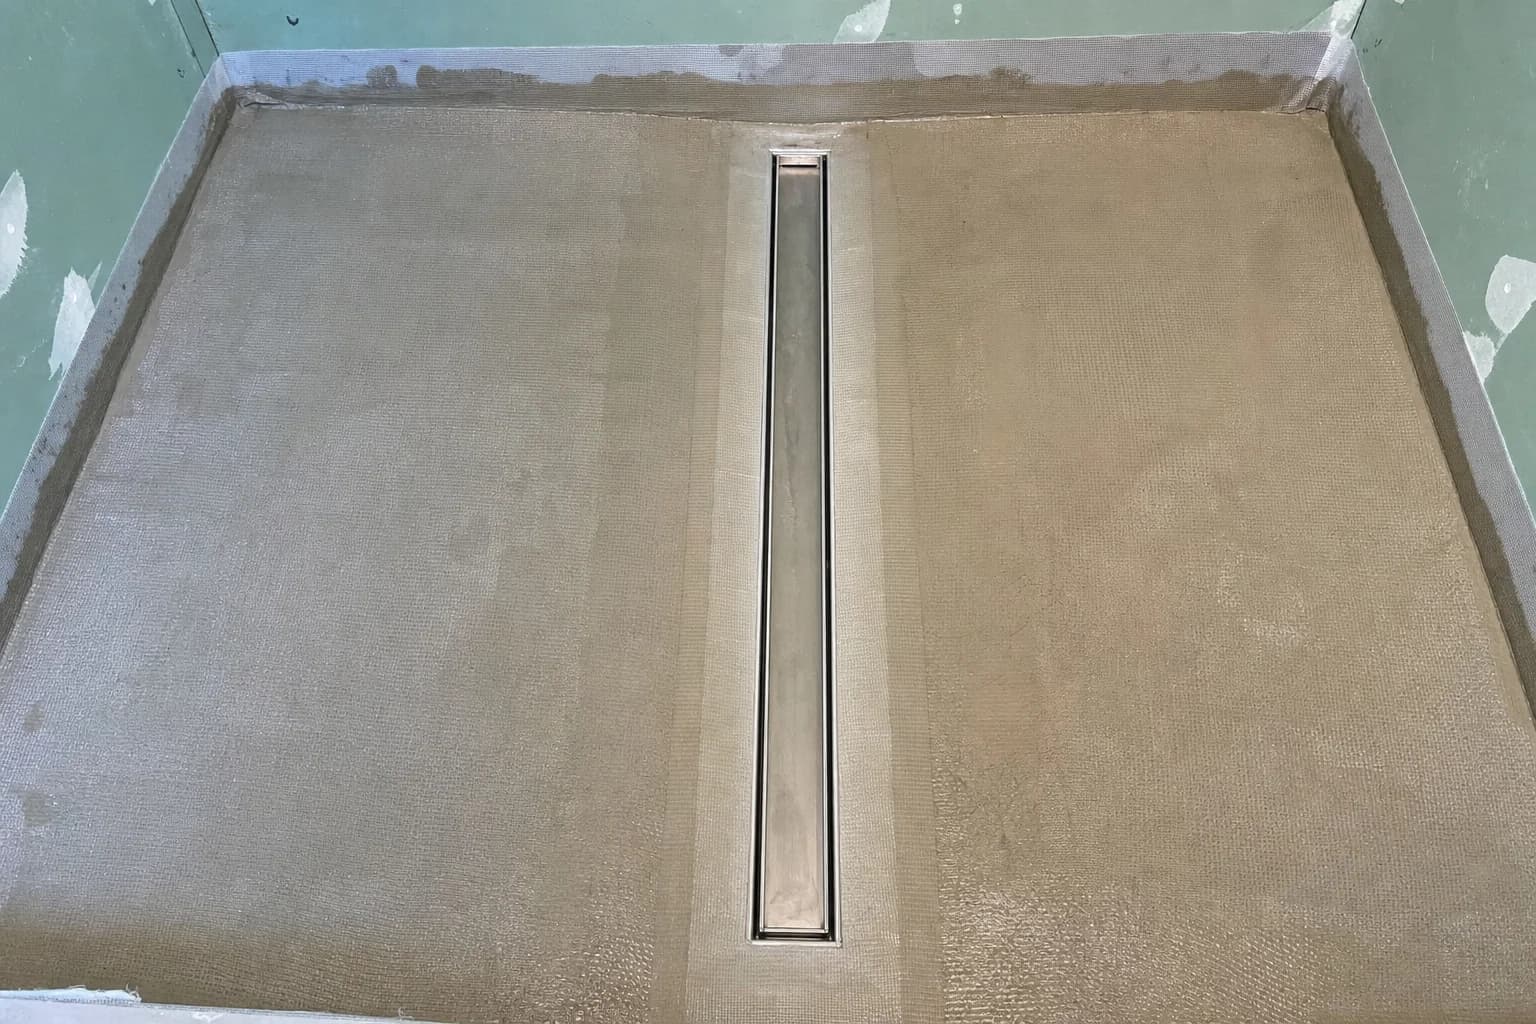
The whole shower floor waterproofed in one unbroken sheet, carried right into the drain fitting.
Painted up to the drain instead of sealed into it. Water then runs underneath the drain and never goes down it.
The shower walls
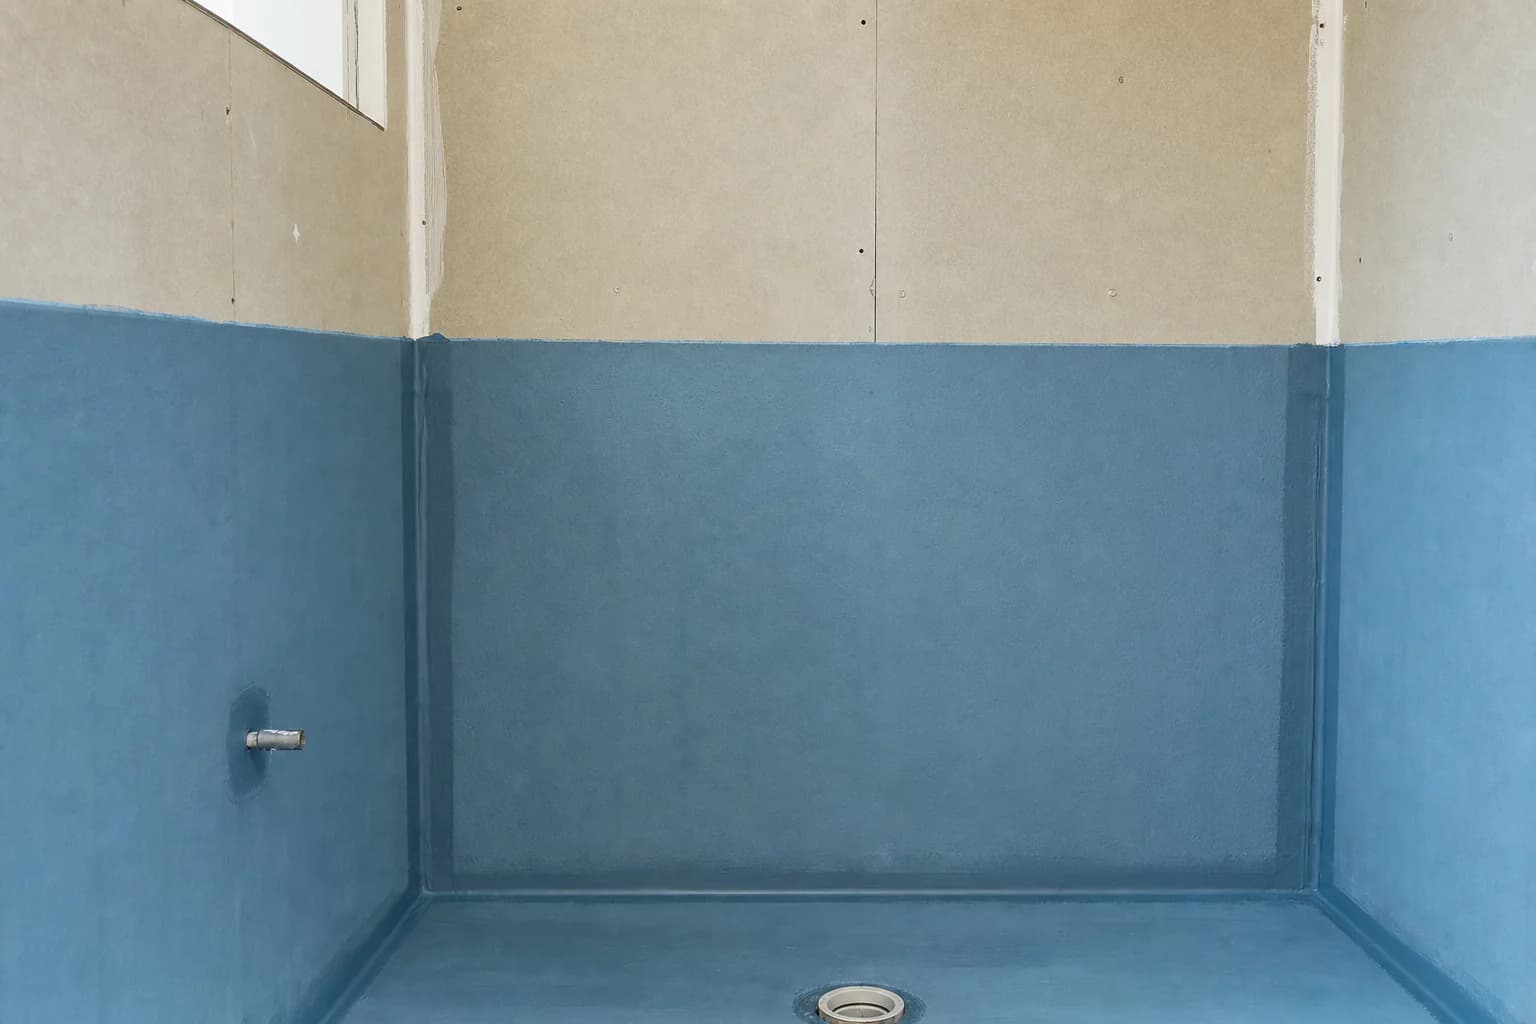
Waterproofed at least 1800mm up the wall inside the shower, and the upright corners done too.
Stopped at the top of the tiles, or the corners left to the silicone that goes on at the end.
Where the wall meets the floor
Treated as a join that moves. A flexible strip goes in first so the waterproofing can stretch instead of tearing.
Filled solid. The house moves a little, the waterproofing splits, and it splits on the exact line every drop of water runs to.
The rest of the floor
Waterproofed where the rules say, and across the whole floor if the floor is timber.
Treated as if tiles make a floor waterproof. They do not, and over timber they never did.
Holes for pipes and taps
Every drain, tap and mixer sealed through the waterproofing, not painted around it.
Drilled after the waterproofing is down, then patched over with a smear of sealant.
The drying time
The waterproofing fully dry, right through, before anything goes on top of it.
Tiled the next morning because the tiler was booked. The wait is the easiest thing on a job to skip.
AS 3740 is the Australian rule for waterproofing wet areas in homes. The National Construction Code is what makes it law. Exactly what it asks for in your bathroom depends on what your floor is made of and how the room is laid out. That is why we write the price after looking at the floor, not before.
What we do
What is included
Waterproofing is a sequence of steps, not a coat of paint. Most of it happens before the tin is even opened. Every step is written into the price and photographed as it is done.

Before any membrane
Prep
- The floor and walls checked, and any soft or water damaged sheeting cut out and replaced
- Joins between sheets filled and taped, so the waterproofing goes onto one smooth surface
- A bed of mortar laid so the floor slopes one way, and the water is already heading for the drain
- The floor vacuumed and primed, because waterproofing laid over dust lets go later
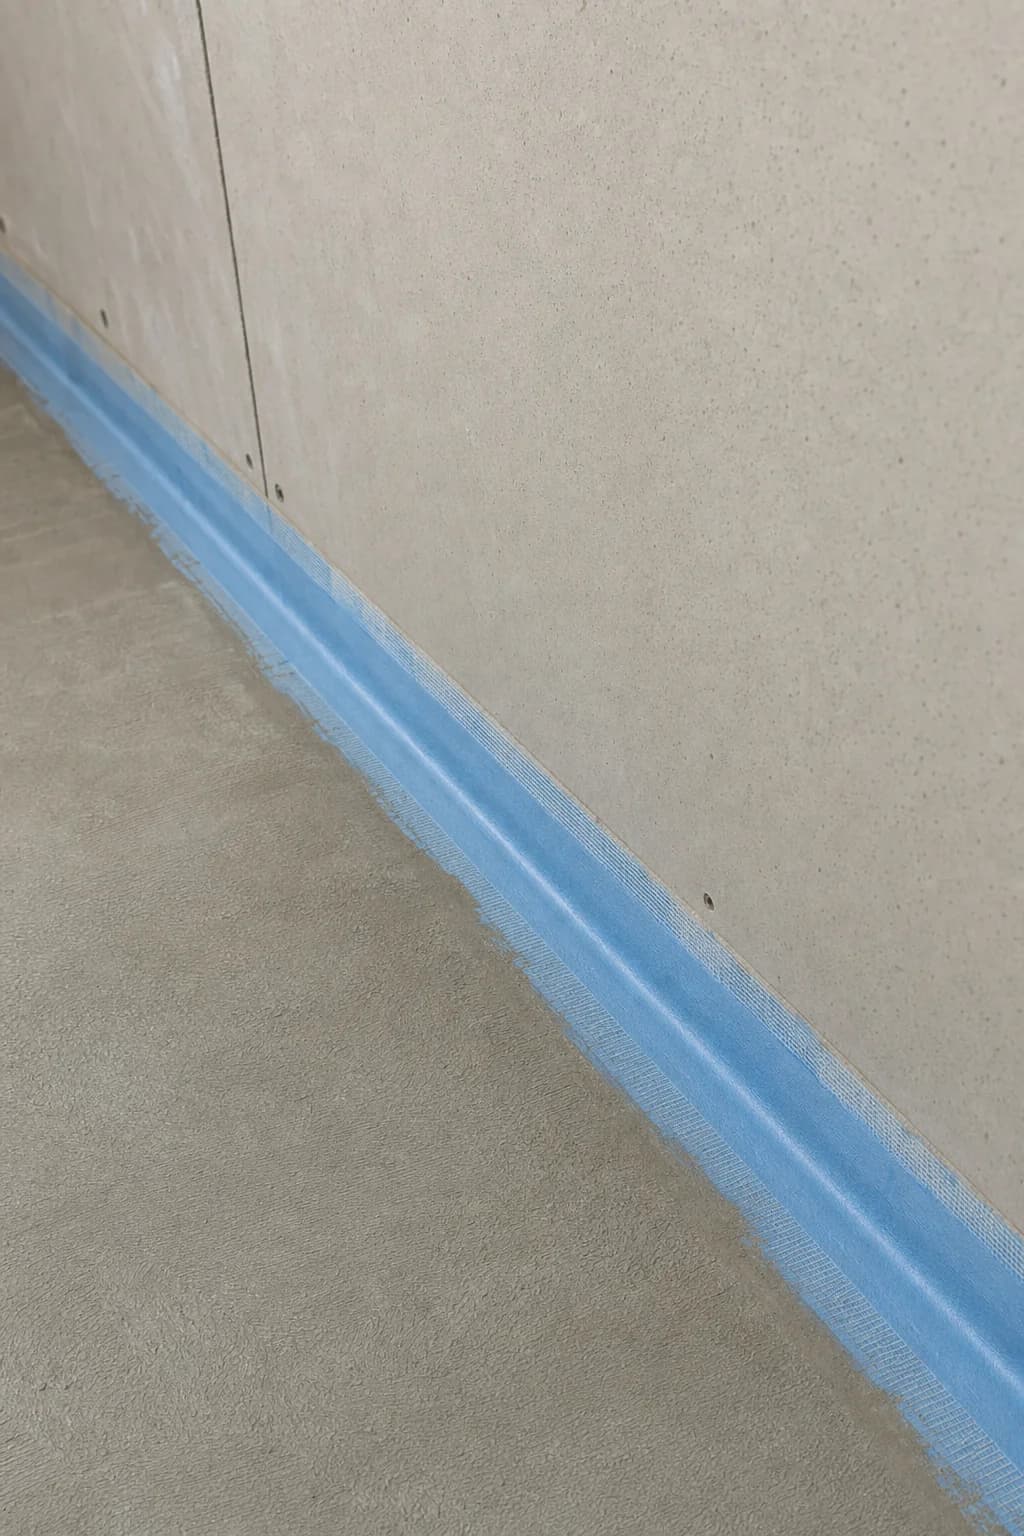
- A flexible strip run into the corners and where the wall meets the floor, so those joins can move

What actually goes on
Membrane
- Reinforcing tape bedded into every corner, every join and around every pipe
- Two coats in different colours, so any thin spot in the first shows through the second
- Carried up the wall to the height the rules set, not just up to the tiles
- Drains and taps sealed through the waterproofing, not patched around afterwards
- Left to dry all the way through before anything goes on top, with the room kept shut while it does

What you get back
Proof
- Photos at every stage, from the bare floor to the finished second coat
- We flood the finished floor with water before the tiler is allowed to start
- The product we used and the number of coats written into your handover
- The photos handed to you, so the record outlives the job and the tiles

Not included: the tiling, the screen, and fitting the taps. Those go on top and are priced separately, whether we do them or somebody else does.
Our process
Our waterproofing process
- 01
Look at the floor
Concrete or timber, and what state the sheeting is in. It changes what the rules ask for and it changes the price. Nobody can tell from the doorway.
- 02
Get the slope right
The slope is built into the mortar bed before any waterproofing goes down, so the water already runs the right way before anything is sealed.
- 03
Prepare and prime
Joins filled and taped, floor vacuumed, primer rolled on. This step decides whether the waterproofing is still stuck down in ten years.
- 04
Corners first
The flexible strip and the reinforcing go into the corners and along the base of the walls before we touch the open floor.
- 05
Two coats, photographed
Two coats in different colours, so anything missed in the first shows through the second. The camera comes out at every stage, not just at the end.
- 06
Dry, test, hand over
It dries all the way through. Then we stand water on the floor to prove it holds. Then you get the photos, before the tiler starts.
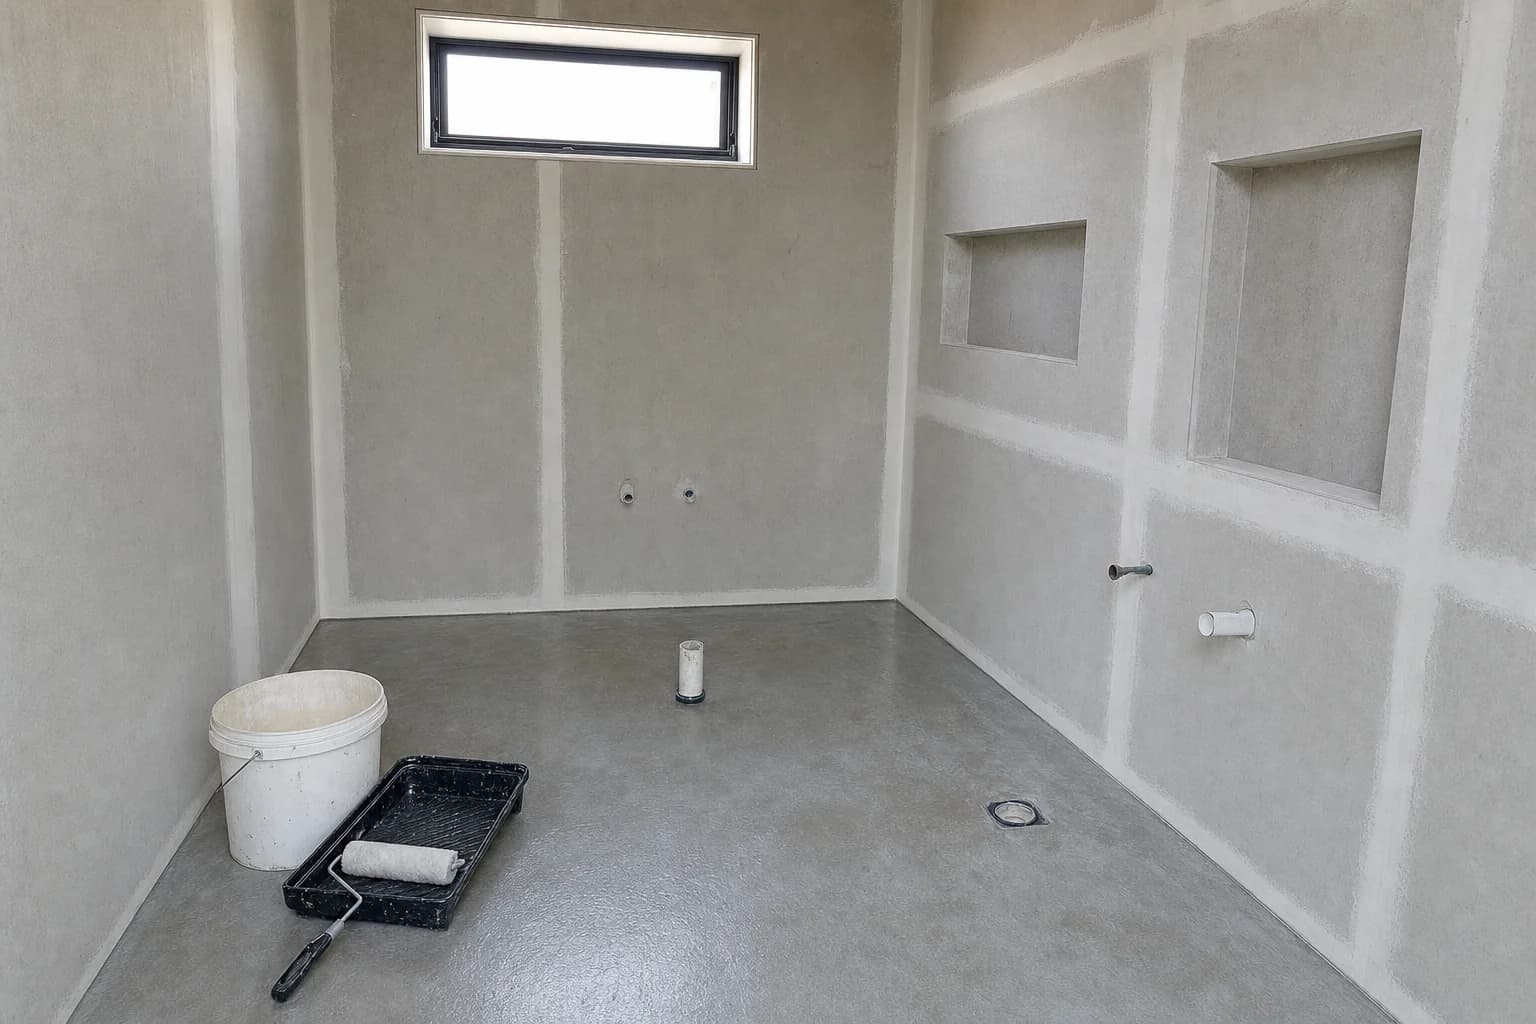
Primed, because waterproofing over dust lets go
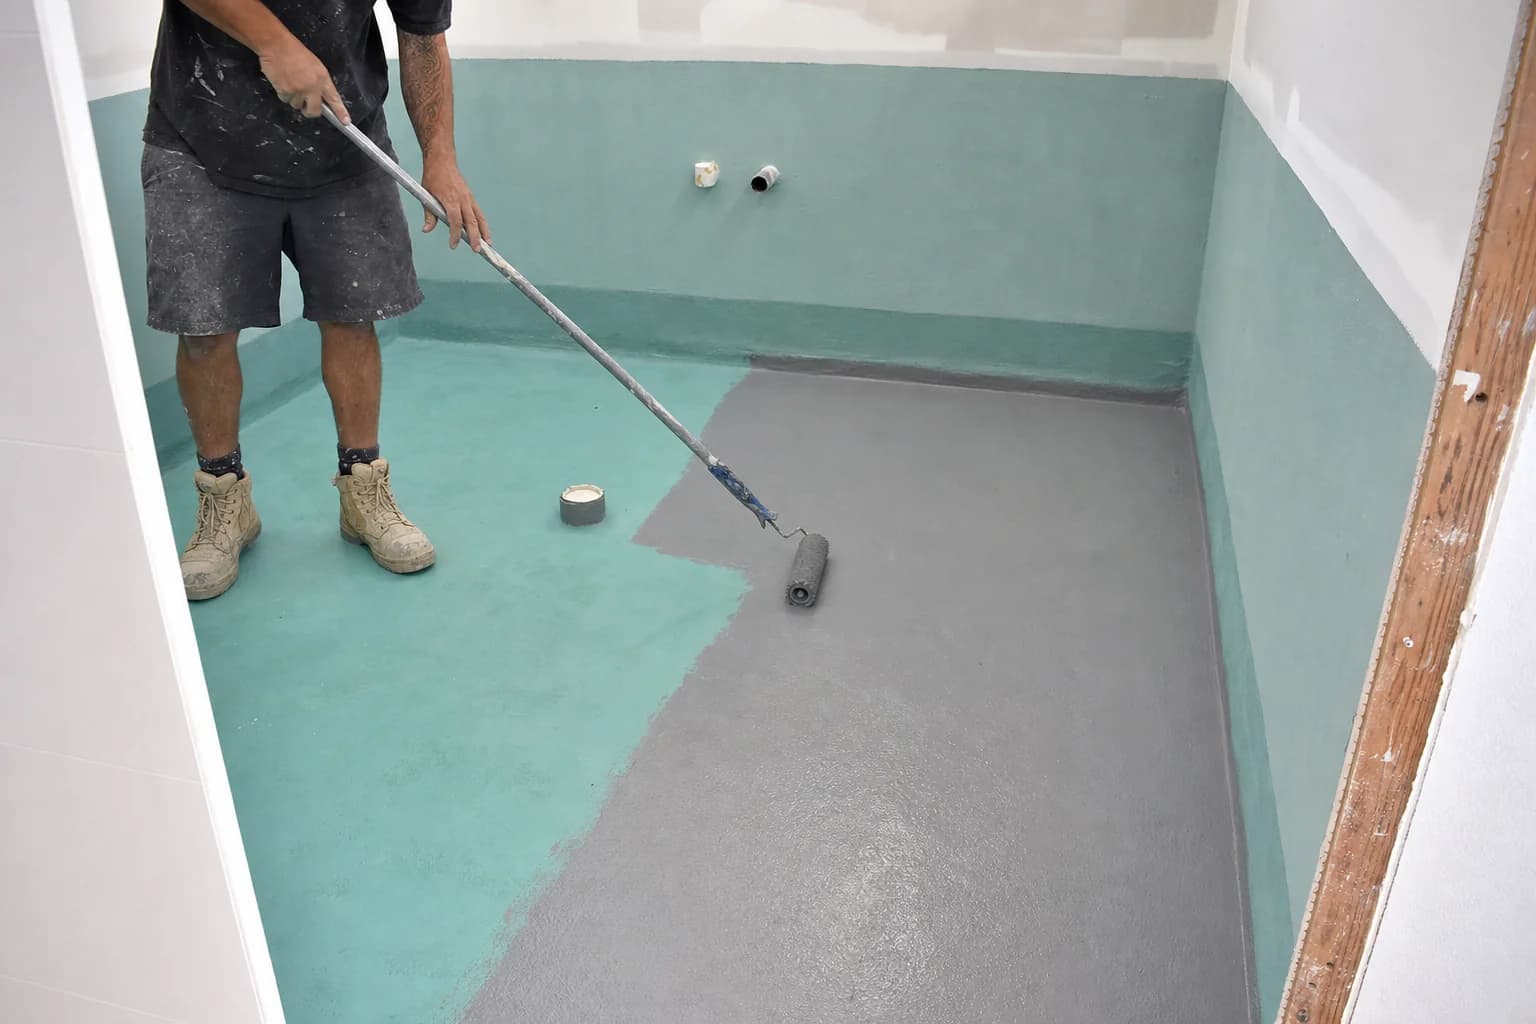
Two coats in two colours, so a miss shows up
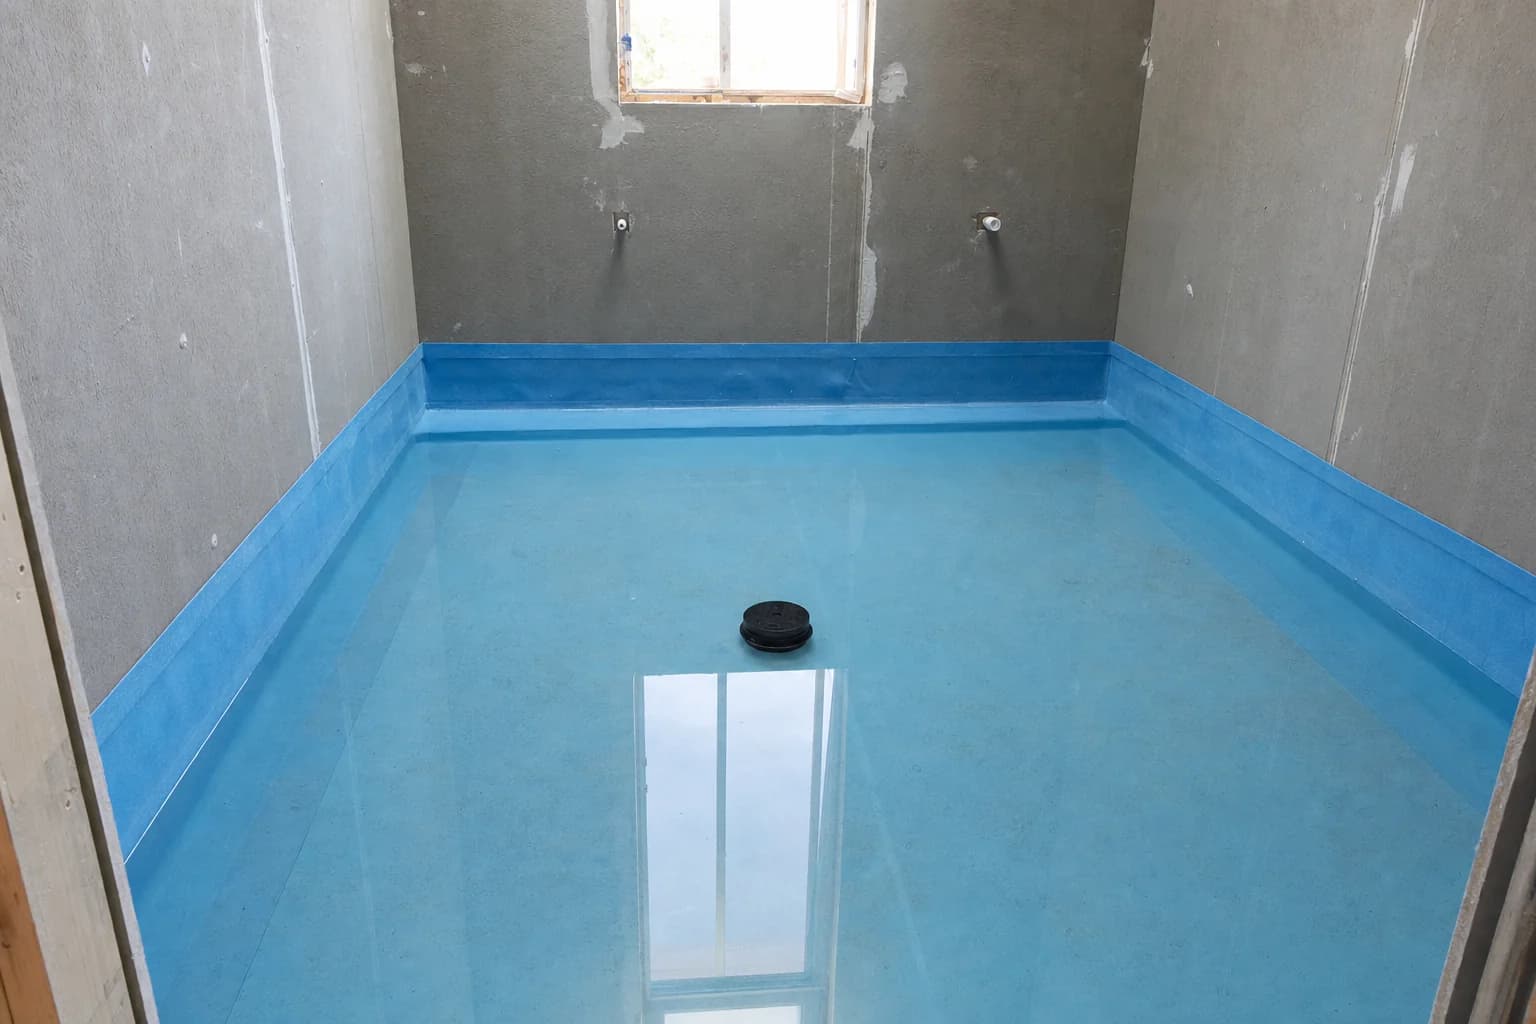
Water on the floor, before the tiler starts
Pricing
What affects the price
Waterproofing is rarely bought on its own. It is a line inside a bathroom renovation. What moves that line is what your floor is made of and how big the wet area is, not anything you pick in a showroom.
That is good news, because it means we can price it early. It comes down to what is under your floor, and we can look at that on the first visit.
Keeps it down
A concrete floor in good order. Nothing to replace and nothing to level. The mortar bed goes straight on and the job runs without a pause.
A shower with a step. A shower you step into is less floor to seal, and far fewer corners to seal, than a room that drains as one.
Ordinary drains and taps. One square drain and one set of tap holes is a smaller job than a long strip drain and a wall mixer.
Pushes it up
A timber floor. The whole floor gets waterproofed instead of part of it, and any soft sheeting comes out before anything else starts.
A step free or wet room layout. The whole floor is the shower, so the whole floor has to be sealed, and every corner in it done properly.
Rotten timber under the old floor. It gets replaced before anything is closed up. It is the one thing nobody can price honestly until the floor is open.
A second wet room in the same visit. A laundry or a second bathroom shares the set up and the drying time, so the two together cost less than the two apart.
What is under your floor decides most of this, and nobody can tell that from the doorway. One look turns a rough range into a real number.
(02) 9072 1997Our other services
All services
Walk in showers and wet rooms
A shower with no step to climb over. The floor itself has to slope to the drain, which is where the real work is.
Read more
Full bathroom renovations
Back to the frame, new pipes, new waterproofing, new tiles. The whole room, with one builder running it.
Read more
Step free and small bathrooms
Floors with no step to trip on, solid timber put in the wall now so rails can go on any time, and room to turn around.
Read moreContact us
Tell us about the room and we will come and look at it. You get a fixed scope written down item by item, so you know what you are paying for before anything starts.
(02) 9072 1997